 README
README
OctoScreen 

OctoScreen is a LCD touch interface for your OctoPrint server. It is based on GTK+3 and allows you to control your 3D Printer using a LCD touch screen, a Raspberry Pi, and OctoPrint. It's an X application that's executed directly in the X Server without a window manager or browser, and operates as a frontend for OctoPrint.
 Idle
Idle
 Idle-Multiple Hotends
 Printing
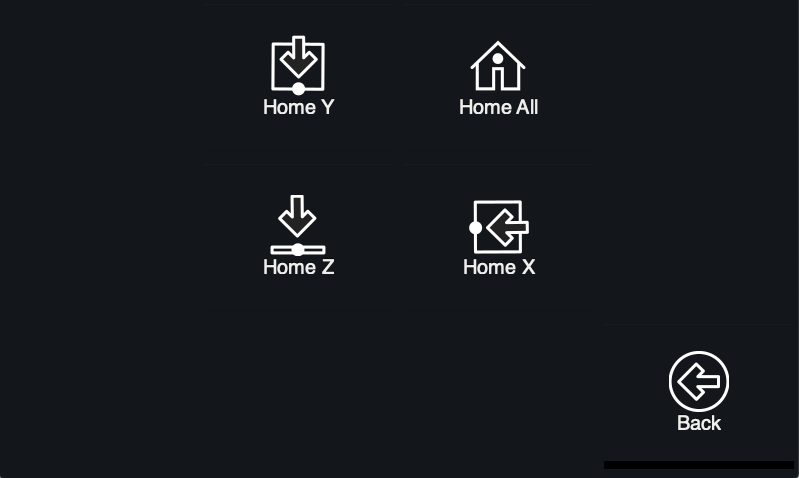 Home
Home
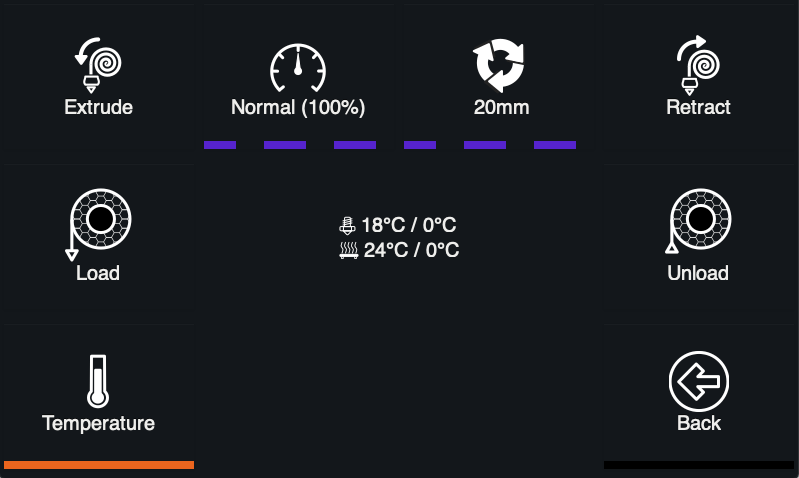 Filament
 Actions
Some of the functionality of OctoScreen included:
- Print jobs monitoring.
- Temperature and Filament management.
- Jogging operations.
- WiFi connection management.
- Tool changer management tools.
How Is OctoScreen Different From TouchUI?
TouchUI is an amazing plugin for OctoPrint. It was created as a responsive design application to access OctoPrint from low resolution devices, such as smartphones, tablets, etc.
Executing TouchUI under a RPi with a TFT display presents two big problems: First, it isn't optimized to be used with resistive touch screens with low resolutions like 480x320, and second, it requires a browser to run, which consumes a lot of resources. This is the main reason OctoScreen was developed as an X application.
Installation
Dependencies
OctoScreen is based on GoLang. GoLang applications are usually dependency-less, but in this case GTK+3 is used, and the GTK+3 libraries are required in order to run. Be sure that GTK+3 is installed and is the only graphical environment that's been installed.
If you are using Raspbian or any other Debian based distribution, required packages can be installed using:
sudo apt-get install libgtk-3-0 xserver-xorg xinit x11-xserver-utils
You will also need to set up the video drivers for the display you are using. Installation and configuration of the drivers is usually specific to the display you are using, and you will need to contact the manufacturer for instructions. To help you set up your system and display, a setup guide (Setting Up OctoScreen and Your Display) is available in the wiki.
Install From a .deb Package
There are two ways to install OctoScreen: the recommended and supported way is to install from a .deb package, or you can choose to install from building the sources yourself. The recommended way to install OctoScreen is use the .deb packages from the Releases page. The packages are available for Debian Stretch based distributions such as Raspbian and OctoPi.
For example, to install on a new RaspberryPi with OctoPi:
wget https://github.com/Z-Bolt/OctoScreen/releases/download/v2.7.4/octoscreen_2.7.4_armhf.deb
sudo dpkg -i octoscreen_2.7.4_armhf.deb
Or to update an existing version of OctoScreen:
wget https://github.com/Z-Bolt/OctoScreen/releases/download/v2.7.4/octoscreen_2.7.4_armhf.deb
sudo dpkg -r octoscreen
sudo dpkg -i octoscreen_2.7.4_armhf.deb
sudo reboot now
Install From Source
The compilation and packaging tasks are managed by the Makefile and backed on Docker. Docker is used to avoid installing any other dependencies since all the operations are done inside of the container.
If you need to install docker inside Raspbian or any other linux distribution just run:
curl -fsSL get.docker.com -o get-docker.sh
sh get-docker.sh
You can read more about this at docker-install
To compile the project (assuming that you already cloned this repository), just execute the build target. This will generate all the binaries and debian packages in the build folder:
make build
ls -1 build/
The default build is for the STRETCH release of debian, but BUSTER and JESSIE are also possible. To build one of these targets, you just have to specify the package during make. Example for BUSTER:
make build DEBIAN_PACKAGES=BUSTER
ls -1 build/
If you are using Raspbian you can install any of the .deb generated packages. If not, just use the compiled binary.
Configuration
Basic Configuration
The basic configuration is handled via environment variables, if you are using the .deb package you can configure it at /etc/octoscreen/config.
Required Configuration Settings
-
OCTOPRINT_HOST- The URL to the OctoPrint server. Example:http://octopi.localorhttp://localhost:5000. Note: the protocol (http://orhttps://) is required. If the setting forOCTOPRINT_HOSTdoes not contain the protocol, an error will be displayed when OctoScreen starts. -
OCTOPRINT_APIKEY- OctoScreen expects an API key to be supplied. The API key can either be set in OctoScreen's config file, or in OctoPrint's config file (OCTOPRINT_CONFIG_FILE below) -
OCTOSCREEN_STYLE_PATH- Several themes are supported, and style configurations can be done through CSS. This variable defines the location of the application theme.
Optional Configuration Settings
-
OCTOPRINT_CONFIG_FILE- The location of OctoPrint's config.yaml file. If empty, the file path used will be thepihome folder of the current user. The OCTOPRINT_APIKEY is required, and if it isn't defined in OctoScreen's config file (see OCTOPRINT_APIKEY above) it needs to be defined in OctoPrint's config file. -
OCTOSCREEN_LOG_FILE_PATH- The file path to where the log file will be saved. The file path should be a fully qualified path and not only include the path to the log file, but the name of the log file as well (eg/home/pi/logs/logfile.txt). The log file is appended to and is never automatically truncated, and will grow over time. If you turn log file logging on (by specifying a path), be sure to turn it off (by setting the value to ""). -
OCTOSCREEN_LOG_LEVEL- Controls the level of logging. Accepted values are (with increasing levels):debug,info,warn, anderror. If no value is provided, the log level will default towarn. -
OCTOSCREEN_RESOLUTION- Resolution of the application, and should be configured to the resolution of your screen. Optimal resolution for OctoScreen is no less than 800x480, so if the physical resolution of your screen is 480x320, it's recommended to set the software resolution 800x533. If you are using Raspbian you can do it by changinghdmi_cvtparam in/boot/config.txtfile. Please see Setting Up OctoScreen and Your Display and Installing OctoScreen with a 3.5" 480x320 TFT screen for more information. -
DISPLAY_CURSOR- To display the cursor, addDISPLAY_CURSOR=trueto your config file. In order to display the cursor, you will also need to edit/lib/systemd/system/octoscreen.serviceand remove-nocursor
Menu Configuration
Custom Controls and Commands
Custom controls to execute GCODE instructions and commands to execute shell commands can be defined in the config.yaml file.
The controls are limit to static controls without inputs.
Wiki
For troubleshooting and general information about this project, be sure to check out the Wiki page, located at https://github.com/Z-Bolt/OctoScreen/wiki
Roadmap
https://github.com/Z-Bolt/OctoScreen/wiki/Project-Roadmap
License
GNU Affero General Public License v3.0, see LICENSE
This project is a hard fork from Octoprint-TFT created by @mcuadros
 Documentation
Documentation

There is no documentation for this package.